Online compatible : Yes – The files can easily be downloaded and sent to the student, although having students cut the templates out in class will take a long time. It would probably be a better use of time to complete assembly of Appendix A before lesson, and send it to students homes, then colour, cut and stick Appendix B in class.
Age group : Best enjoyed by students aged between 3 and 7.
Materials :
- Thick construction paper to print Appendix A to.
- A sheet of paper to print Appenix B to.
- Scissors
- Crayons or colour pencils
- Glue
Preparation time : 15 minutes to cut out and cut the holes into the sections of Appendix A, fold it along the center line, then glue the bottom tab to the top of the appendix, and a further 5 minutes to cut around the edged of Appendix B. Appendix C should be cut into three drawing crafts (it's always prudent to have spares).
Number of players : Works equally well in groups as in private lessons.
Instructions :
Give students each a copy of one of the 3 rectangular boxes of Appendix C and have them draw a colourful Easter egg in the 5 columns of the box marked "Egg", then draw a hatched chick in the five columns marked "Chick hatching". If students are trustworthy enough with scissors, have then cut the pictures along the dotted lines, so each picture is sliced into 5 thin strips.
Next give each student a copy of Appendix B. Glue the "Egg" strips to the spaces marked "A", and the "Chick hatching" strips to the spaces marked B.
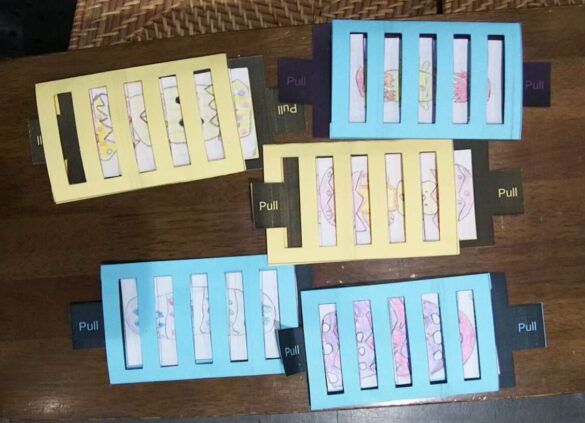
With the craft effectively completed, slot Appendix B into Appendix A, so that the egg images are visible through the holes of Appendix A, then pull the tab marked "Pull" of Appendix B, to hatch the Easter egg.
LEFT CLICK ON THE IMAGES BELOW TO SEE FULL SCREEN.

Appendix A : Outer template
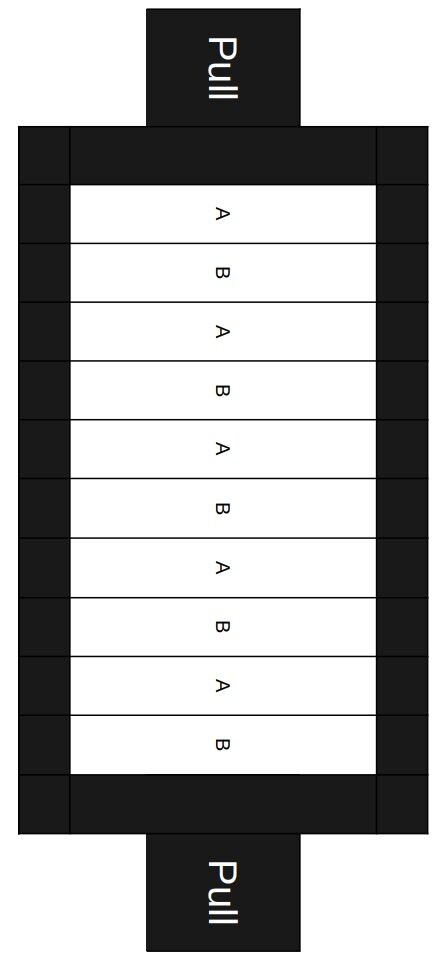
Appendix B : Inner Board
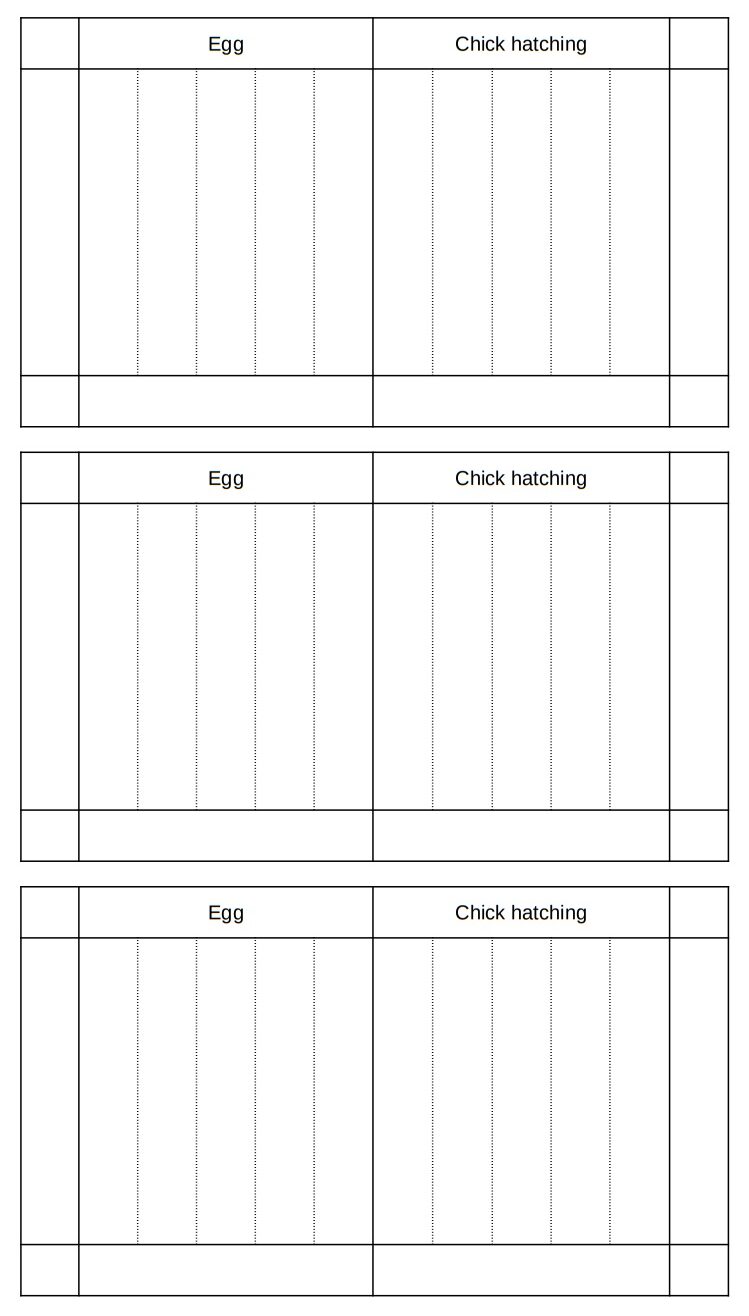
Appendix B : Drawing template
Permission is given to edit and print the appendices for use in the classroom.